Mazda 6 overhead console removal
This small guide is for the Generation II Mazda 6 (2008-2012). I tried to remove my console, searched for information on the Internet and found no detailled guide. So I went ahead and discovered quickly, and much to my dismay, that the console’s plastic is very, very brittle. I ordered a replacement console, learnt the right way to disassemble it and decided to publish this information. Hope it helps some poor soul out there.
Step 1 is to remove the airbar light unit from the console. This is the most critical step in terms of possibly inflicting damage to the plastics. Note the location of the 4 retainer hooks in the following picture: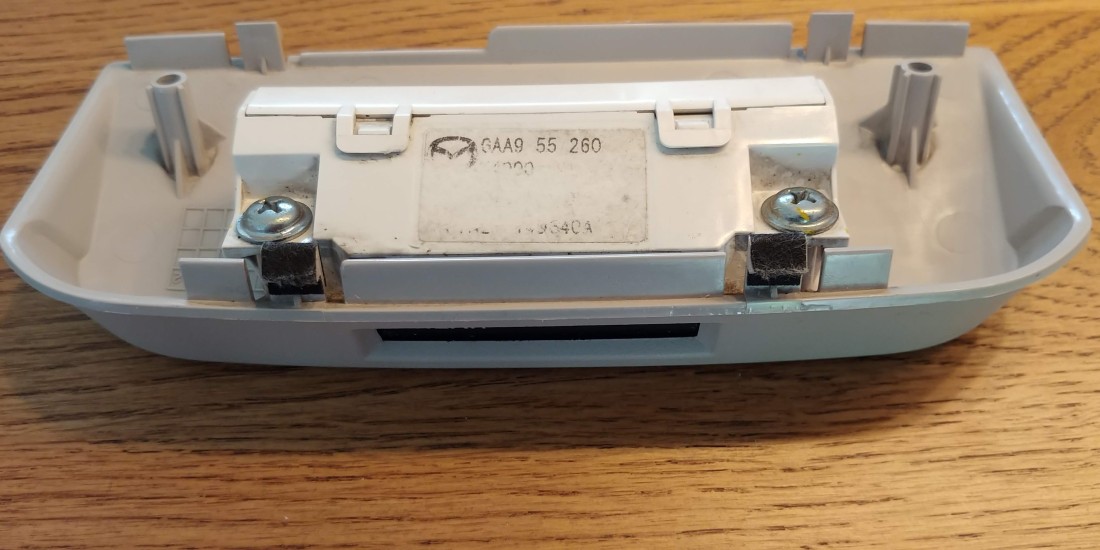
Best is to use a plastic tool to avoid scatches. Gently pry in order to push the black hooks forward. Don’t use much force: this stuff breaks faster than knäckebröd .
With the airbag light unit out of the way, two scews become visible. Remove them both.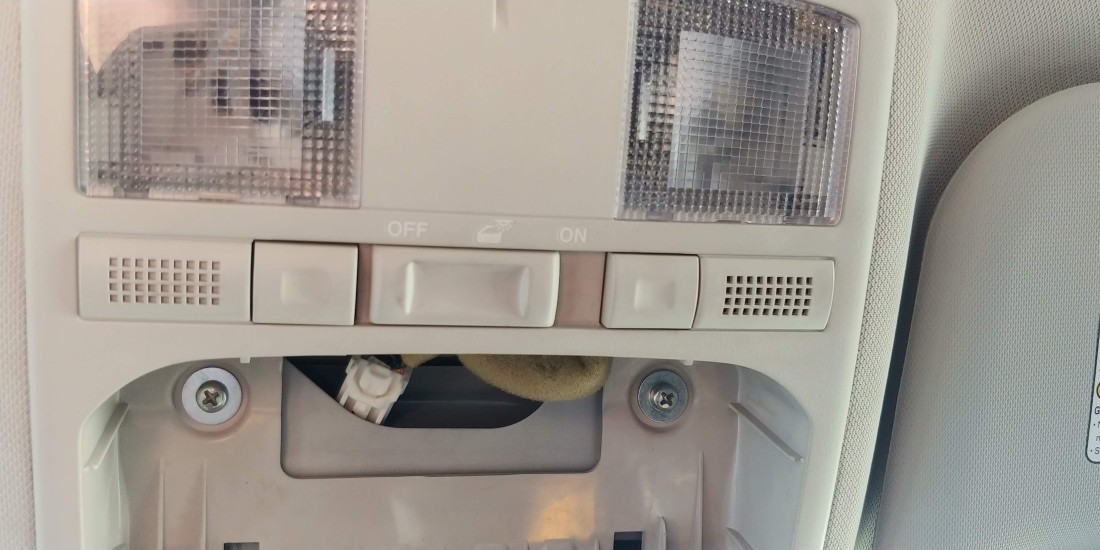
Now use a small flat-head to pop out the map light windows2, on the position given in below picture. Note that the hook protuding in the top left of the picture is part of the map light window (it shouldn’t be protuding in your case, it was photographed this way for demonstrational purposes).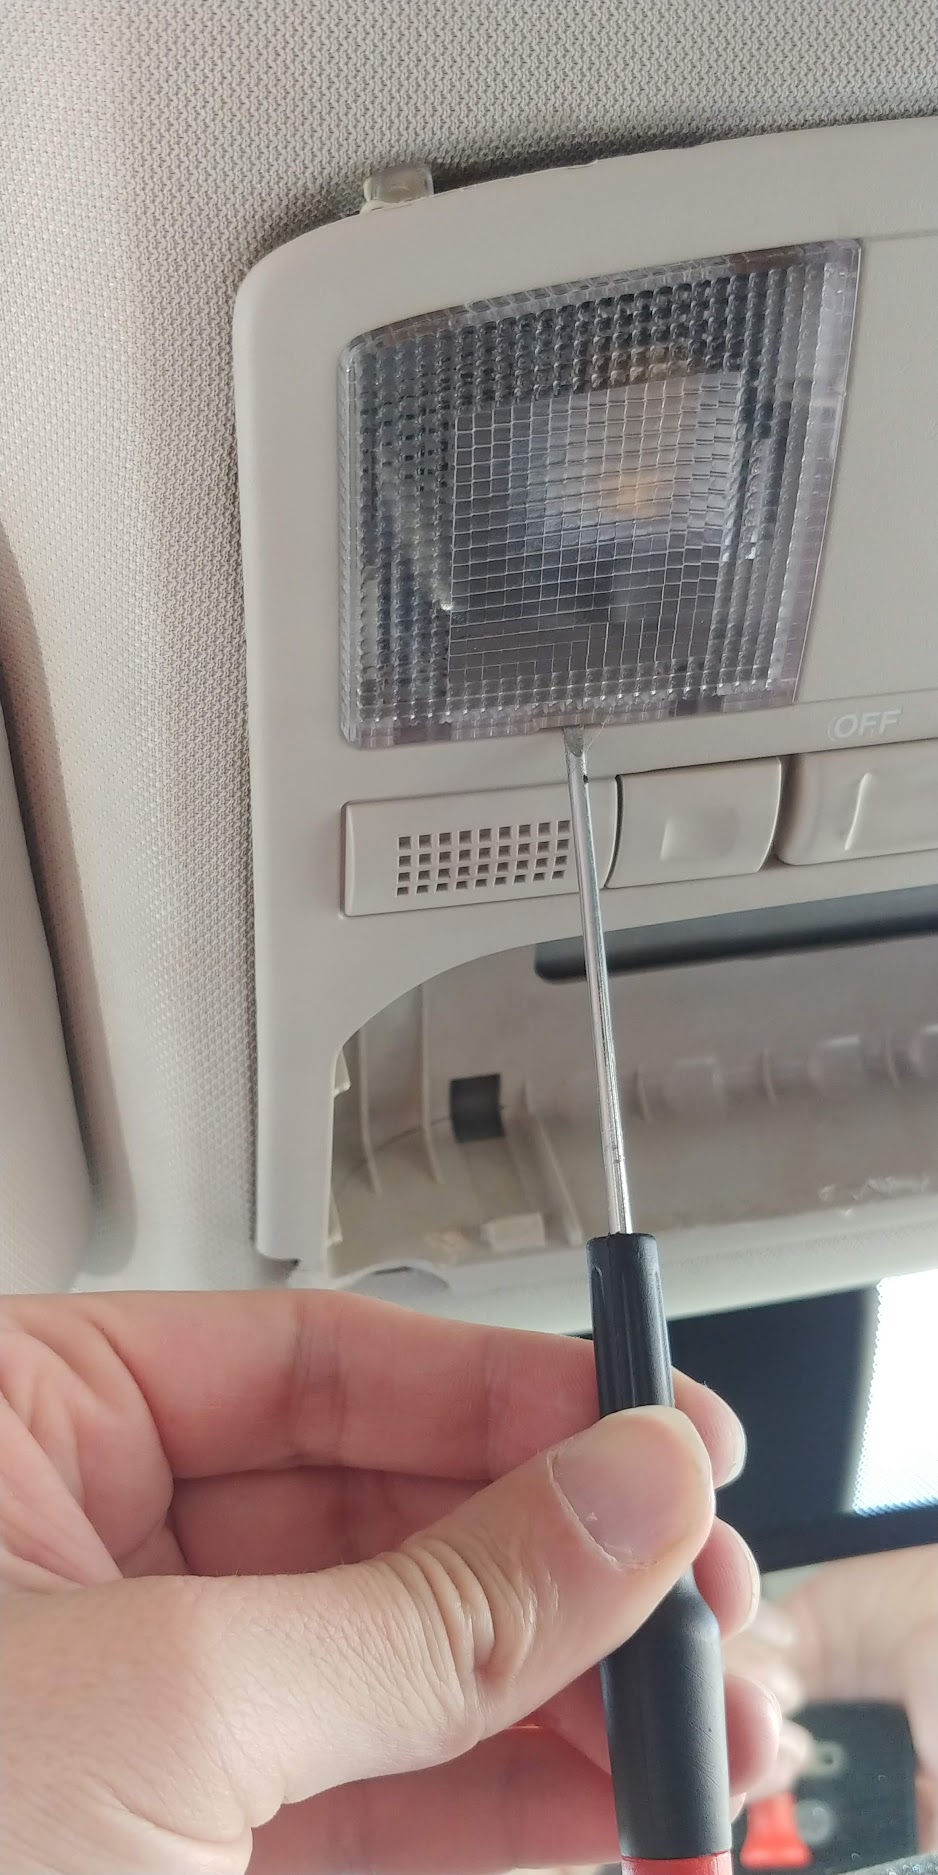
Maplight window, note the hooks on top of it that hold the whole overhead console in the car’s frame.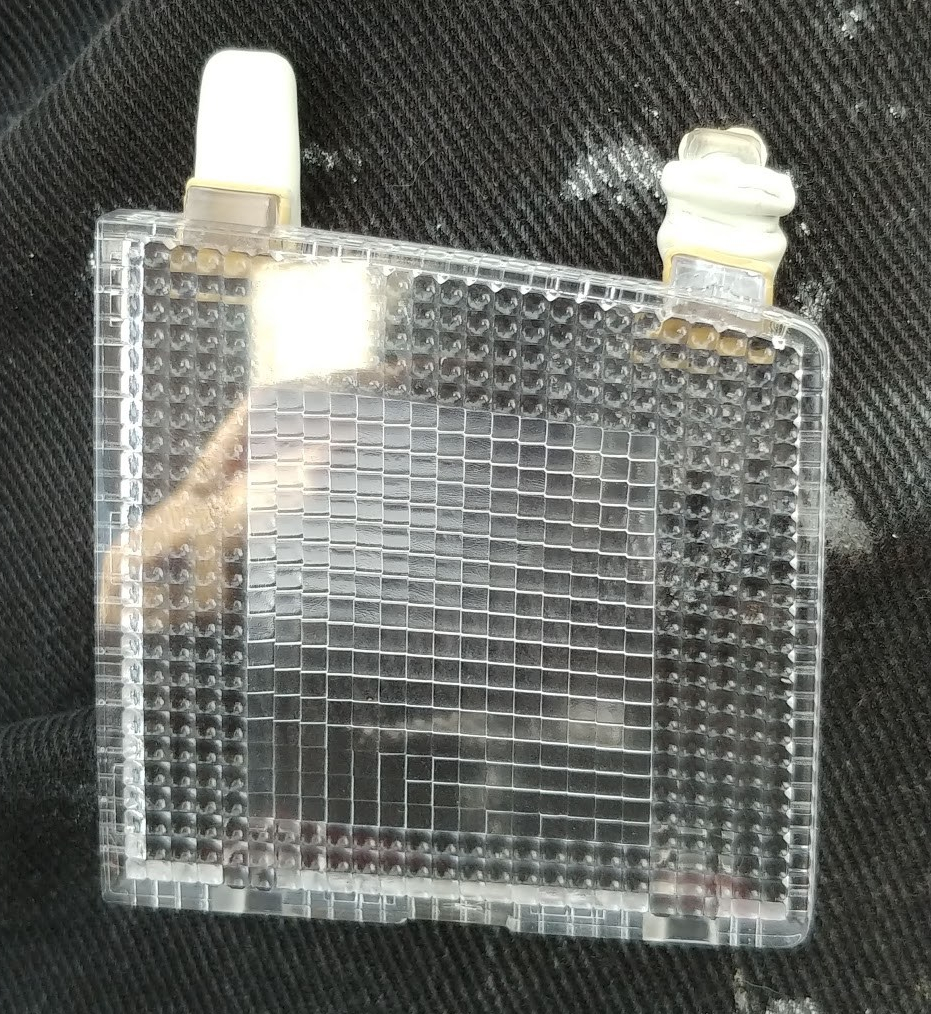
With that out of the way, you can remove the overhead console unit from the car ceiling.
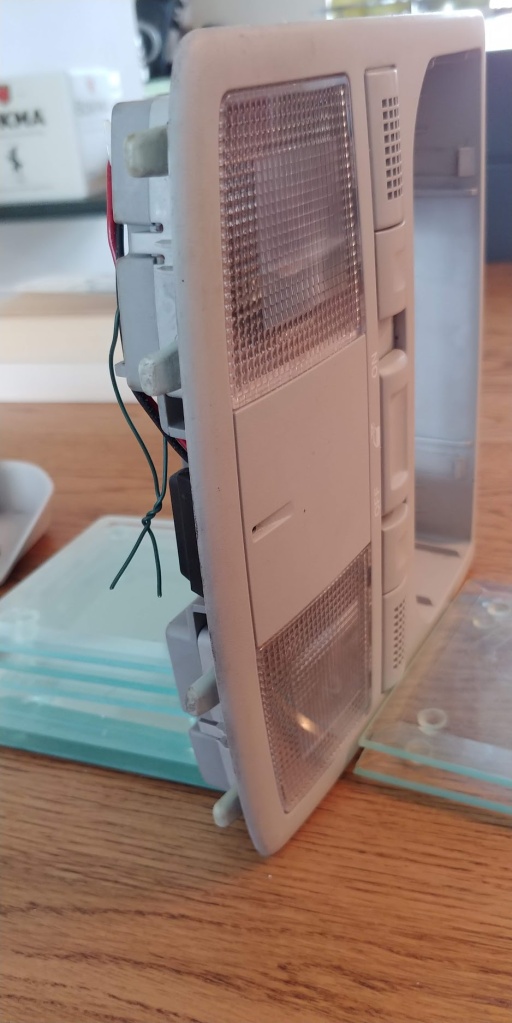
Bonus photo:
Reacties
Een reactie posten